
Garage Floor Coatings
Residential Garage Floor Epoxy in Denver: What a Full Install Includes
Every stage of a professional flake garage floor, in the order it happens, plus what the free on-site estimate checks before any work starts.
Published
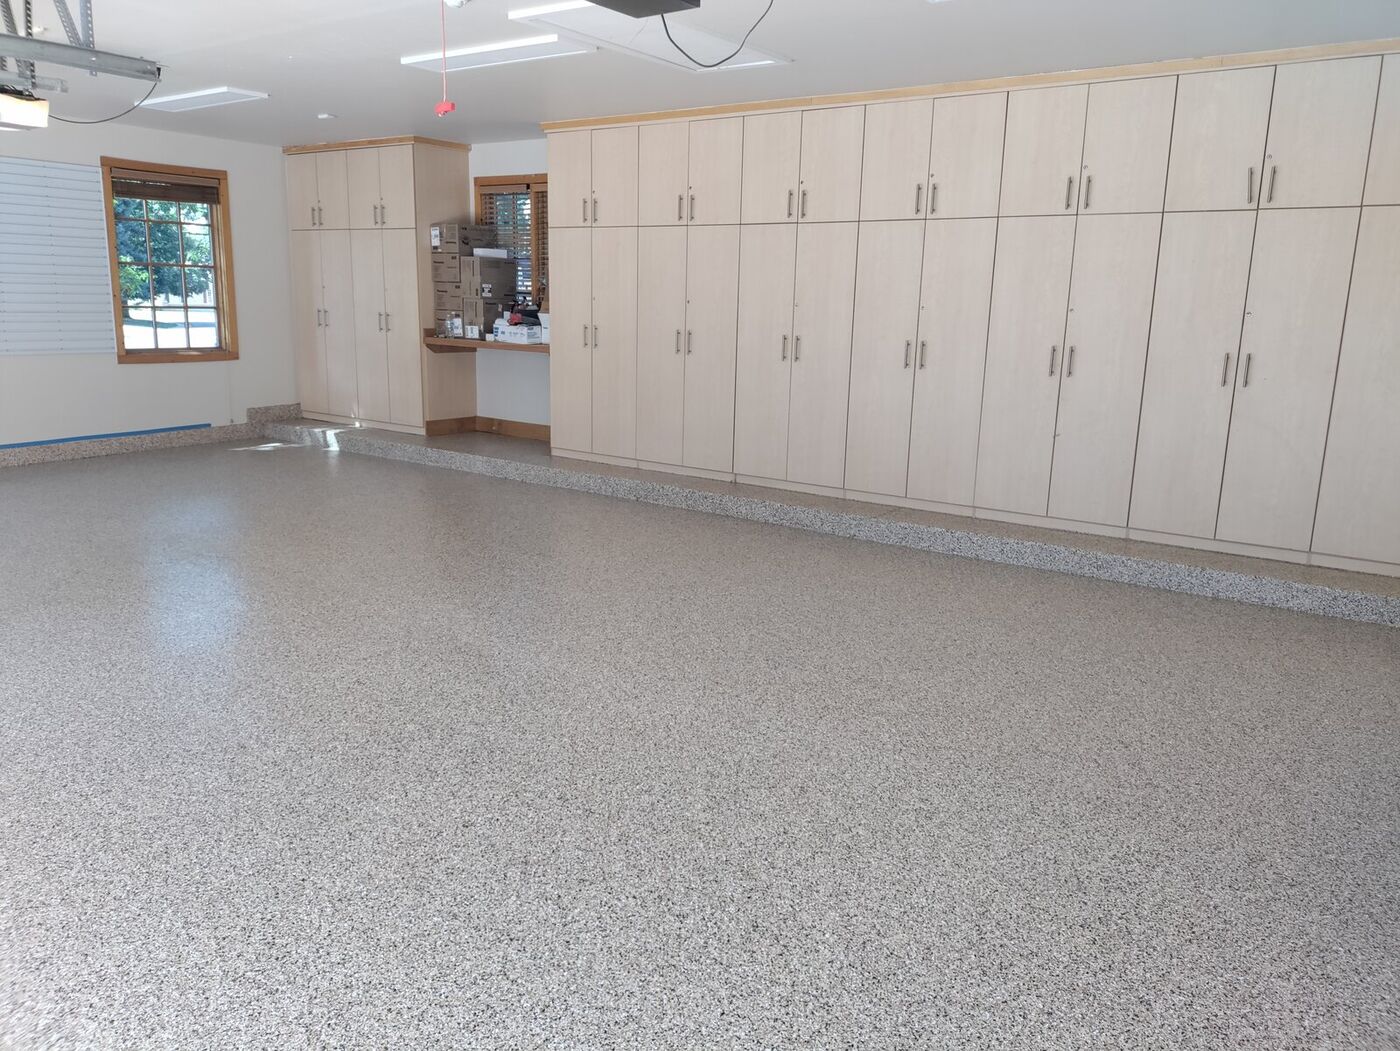
The short answer: a professional residential garage floor epoxy install starts with a free on-site estimate that checks your slab. On the job, the concrete is diamond-ground (no acid etch), cracks, spalls and pitting are repaired and moisture is checked, then a pigmented epoxy base coat goes down, vinyl flake is broadcast into it, and a clear, UV-stable polyaspartic topcoat seals it.
Below, we walk through one residential garage from start to finish, in the order things happen. Each stage gets a short summary and a link to the deeper guide, so you know what you're paying for and can judge any quote side by side. For the system itself, see our page on flake garage floor coating in Denver.
What happens before installation day?
It starts with a free estimate at your home, where we look at the slab and talk through your goals (the full checklist is in the last section). Once you approve the quote, we set a date and tell you exactly what to clear from the garage so the crew can work efficiently. You can see each stage of our install process on one page.
Step 1: How is the garage floor prepped?
Prep decides whether a garage floor coating lasts. The garage is emptied, swept and vacuumed so nothing gets trapped under the coating. Oil and tire marks are removed, and deep stains may need to be ground out.
Then we diamond-grind the slab, with no acid etch shortcuts. Grinding creates a consistent profile the coating can grip, which a chemical wash can't match. That applies to newer slabs too; see coating a new-build garage floor. Step-by-step details are in how to prepare a garage floor for epoxy and grinding vs acid etching.
Step 2: What happens to cracks, spalls and old coatings?
Cracks, spalls and pitting are cleaned out and filled so they don't show through the finished floor. Concrete that wicks moisture can push a coating off from below, so moisture is evaluated and mitigated where needed, with testing when needed. This is surface repair to the slab you're coating. Structural movement is a separate issue, and we'll point it out at the estimate if we see it. More on crack and spall repair.
An old coating that is peeling or lifting can't simply be coated over, because the new layer would fail with it. The failed coating is ground off and the slab is re-prepped first. See removing an old epoxy floor. Coating a basement instead? Moisture matters even more there; see basement floor coatings.
Step 3: What does the epoxy base coat do?
The base coat is a pigmented epoxy layer that bonds to the ground concrete and sets the background color under the chips. Epoxy builds a thick, hard base, which is why we use it for the body and adhesion of the system and save the topcoat for wear.
If you're wondering how many coats go on a garage floor, it helps to think in layers. Our flake system has four: prepared concrete, a pigmented base coat, a vinyl flake broadcast and a clear topcoat. We use commercial-grade systems and professional tools, not consumer kits; see DIY vs professional epoxy for how the two compare.
Step 4: How is the flake added, and full or partial?
Colored vinyl flakes are broadcast into the wet base coat. The chips give a speckled, stone-like look and a subtle texture that adds traction underfoot. Your color is really a custom blend of individual chip colors, and we bring real samples so you can see them in your own light.
- Full broadcast covers the base completely. It's the popular choice for garages because it adds the most texture and grip and hides dust, salt and tire marks.
- Partial broadcast lets more base color show for a subtler look.
To compare the two in quotes, read full vs partial flake broadcast. For color ideas, see 2026 flake colors, and for traction, are flake floors slippery.
Step 5: Why finish with a polyaspartic topcoat?
The topcoat is the clear wear layer that seals the chips and takes traffic, hot tires and sun. For most Colorado garages we finish with a polyaspartic topcoat. It resists abrasion, chemicals and hot-tire pickup, stays flexible, and is UV-stable, so it holds its color near a sunny garage door. We also offer urethane topcoats; compare them in polyaspartic vs urethane topcoats and read why UV-stable topcoats matter at altitude.
When can you use the floor again? Cure depends on the product and the slab and air temperature, so we confirm timing for your floor at the estimate. The details are in our guide to polyaspartic cure time.
What happens at handoff?
We walk through the finished floor with you and give clear return-to-service guidance, so you know when to walk on it, park on it and move things back in. Care is simple: sweep grit, rinse away road salt and snowmelt through the winter, and clean spills with a pH-neutral cleaner. More in our winter floor care guide. Questions about coverage? Read what a warranty should cover.
What does the free on-site estimate check?
This is the visit that shapes everything above. At a Visionary Floors estimate we:
- Measure the space and check the slab in person.
- Look for cracks, spalls, pitting and any old coating that needs repair or removal.
- Check for moisture, with testing when needed.
- Talk through your goals: the system, the flake blend and full or partial coverage, using real samples in your own light.
- Confirm timing for your floor, since it depends on the slab and the system.
- Give you a clear written quote. No pressure.
Estimates happen at your home, not at our shop. The shop at 6121 Washington St, Unit J in Denver doesn't take walk-ins. If you're comparing companies, our homeowner's checklist for choosing a contractor covers what to ask.
Ready for a walkthrough of your own garage?
See finished floors from homes across the Denver metro, read our Google reviews, then request a free on-site estimate. We'll check your slab and walk you through every step above for your garage.
Answers